Exploring the Ticketing Process in Jira Service Management.
I am exploring how a ticketing system functions in Jira Service Management by revisiting the process of creating and closing tickets.
Here are the steps I followed while testing out Jira's ticketing system:
- Create a free account.
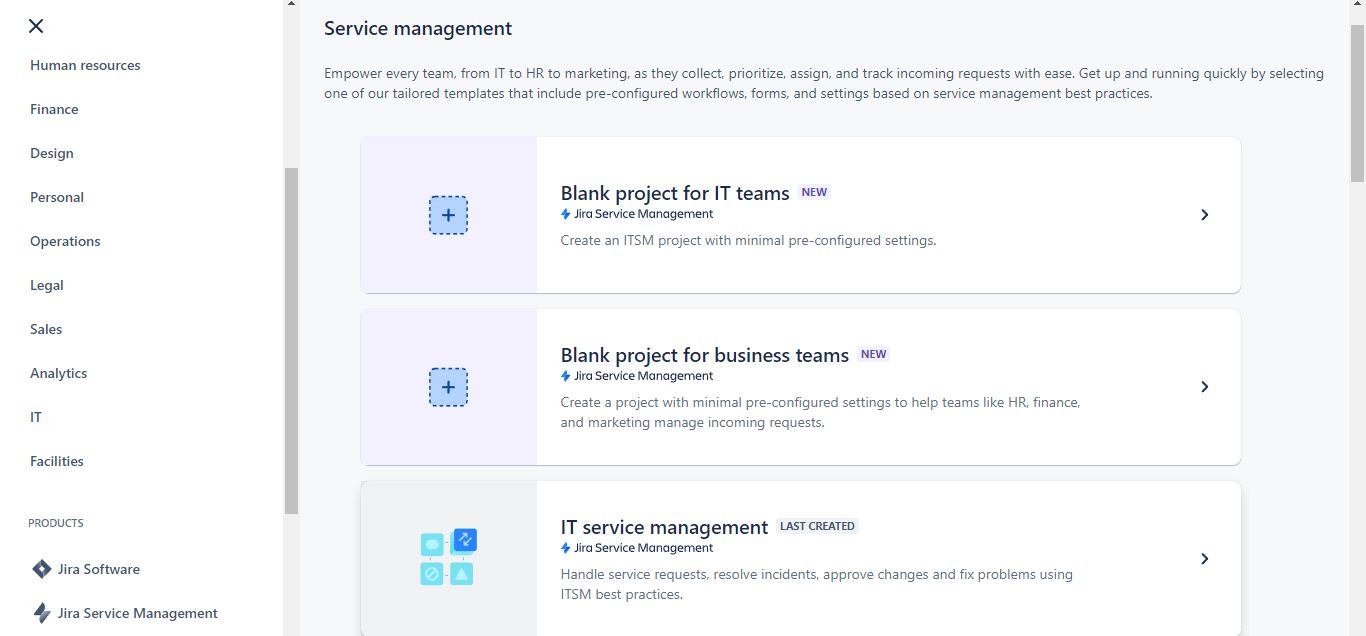
- Choose a project template. For my first project, I selected a template for IT service management.
- Provide project details. I named my project "Help Desk Support."
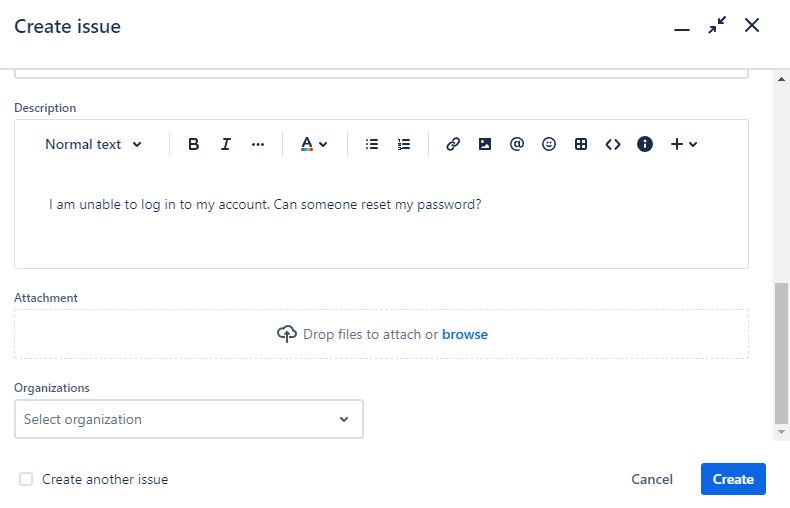
- Create a ticket by selecting "Create." In this example, I created a ticket for a request to reset a user’s password.
.jpg)
.jpg)
When creating tickets, I noticed several options available:
- Issue Type: Specifies the kind of work or task, helping to categorize, track, and report issues for the IT team (e.g., Service Request, Incident).
- Request Type: Refers to the type of request made in the ticket. It's important to match the request type with the issue type to ensure customers and employees are directed to the correct submission channel.
- Ticket Priority: Defines the urgency of the issue, such as Low, Medium, or High.
- Assigning the request to a user.
- Ticket Summary: A brief overview of the ticket.
- Ticket Description: Detailed explanation of the issue.
- Attachments: Any files related to the issue.
- Organization: The organization from which the user is submitting the request.
.jpg)
.jpg)
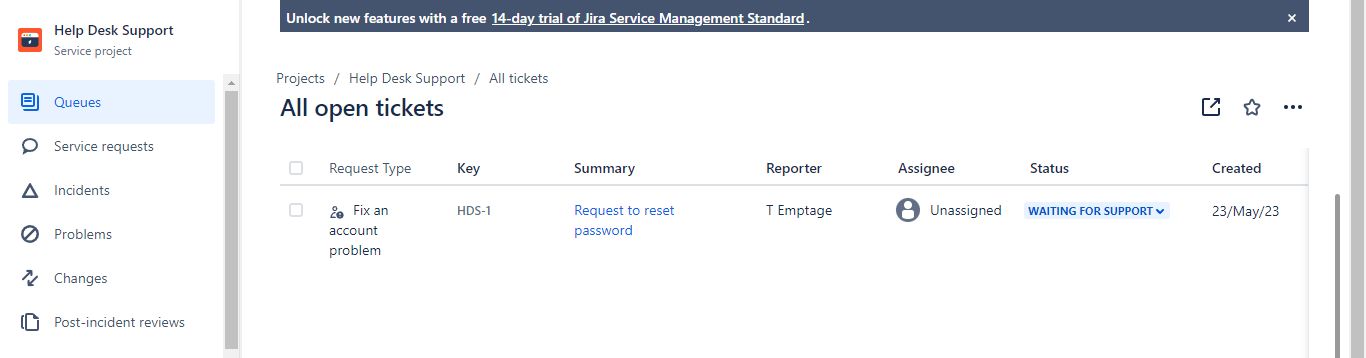
- After clicking "Create," go to the Queues section to view the new ticket. Here, you can respond to the customer for more details or to notify them that the issue has been resolved. You can also close tickets if they are duplicates, though this depends on the ticket's information.
- Assign the ticket. You can assign it to yourself or a colleague in IT who can address the issue.
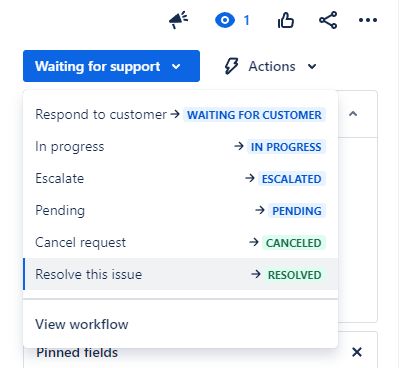
- Navigate to "Waiting for Support" and then to "Resolution" to select how to close the ticket (e.g., Done, Won’t Do, Duplicate, Declined).
- Once the ticket is resolved, its status will change from Waiting for Support/In Progress to Resolved.
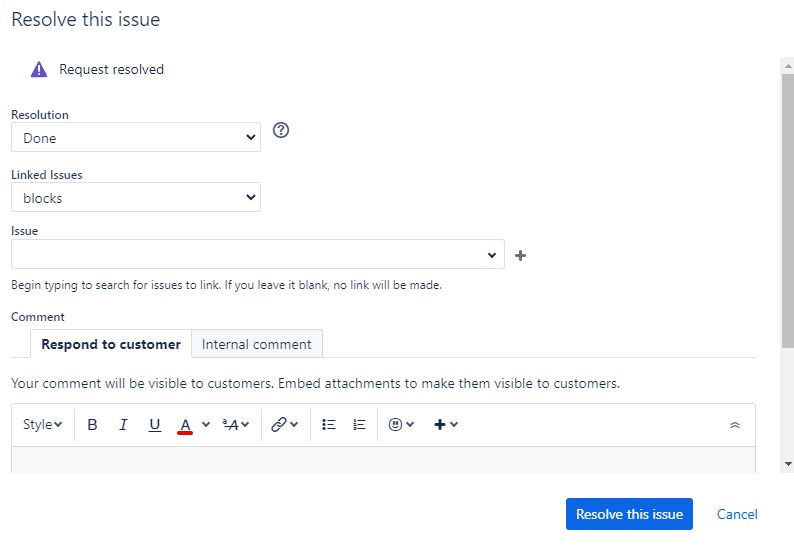.jpg)